Knitting Tutorial: How to slip a stitch
One of the most common questions I have had from knitters just starting out is how do you slip a stitch in your knitting.
It seems straight forward and it is. As long as you make sure to slip it properly.
Watch my new YouTube tutorial to see how to slip a stitch without twisting it. And also how to twist it if you want to.
Produced in super slow motion. Enjoy.
Basic Knitting stitches: Garter stitch
Garter stitch is probably the first stitch pattern you learned when you started knitting. It is perfect for your first scarf as it sits flat and is super simple.
The basic pattern for knitting garter stitch on straight needles is to knit every stitch of every row. To knit garter stitch in the round alternate between one round of knit stitches and one round of purl stitches.
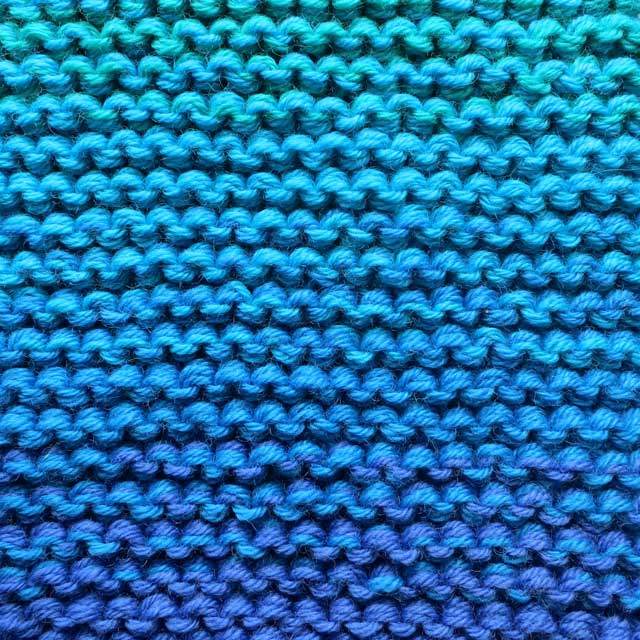
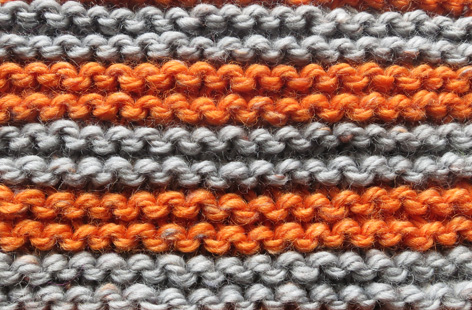
A simple way to count garter stitch rows is to count two rows for every ridge. The sample above was knitted by alternating four rows of each colour. To avoid a line showing up when changing colours in a striped pattern, always change colour at the beginning of an odd numbered row.
As the garter stitch is square in shape, you will be able to knit a square by knitting the same number of rows as the number of stitches you cast on.
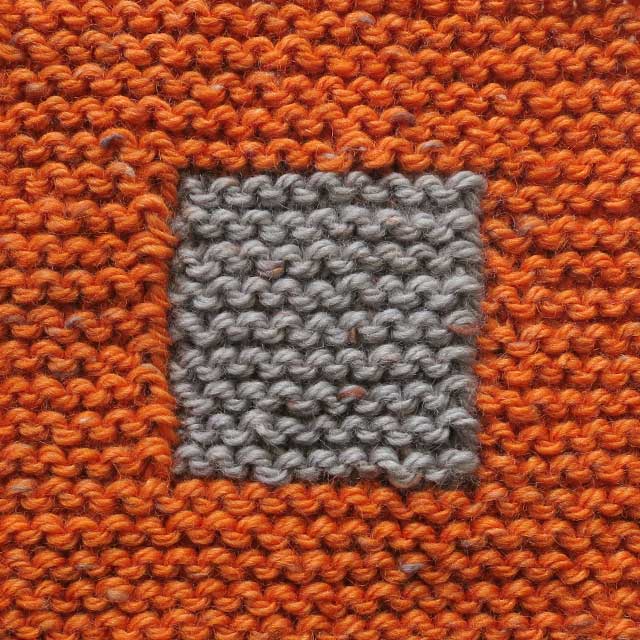
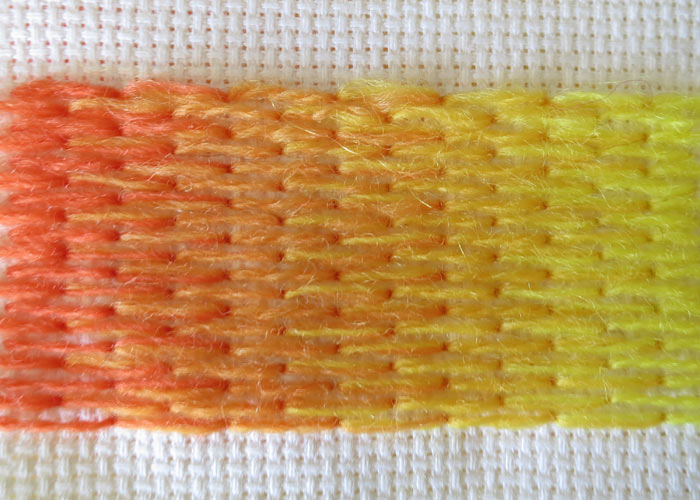
See my video tutorial on Garter stitch Intarsia if you want to learn how to make colour changes in the middle of a row of garter stitch. This technique allows you to make lovely color blocks like the one above and the shapes in my Tangram Square Blanket design.
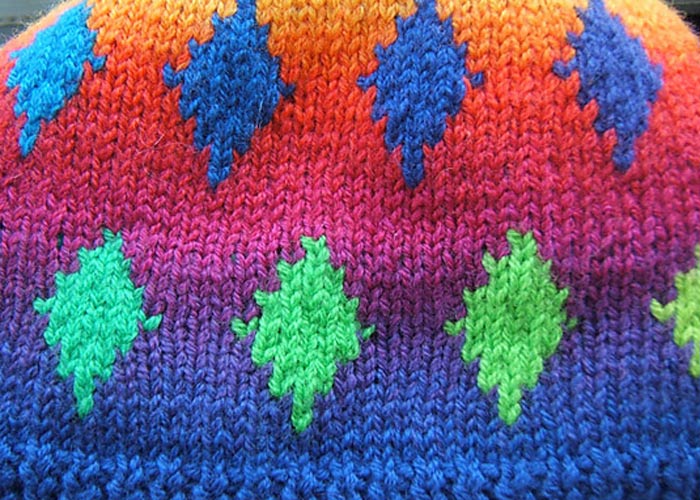
The first sample was made with the Metro yarn in shades ranging from Blue to green and the second and third samples with the Retro yarn in Persian Orange and Silver shades
Knitted Bracelets
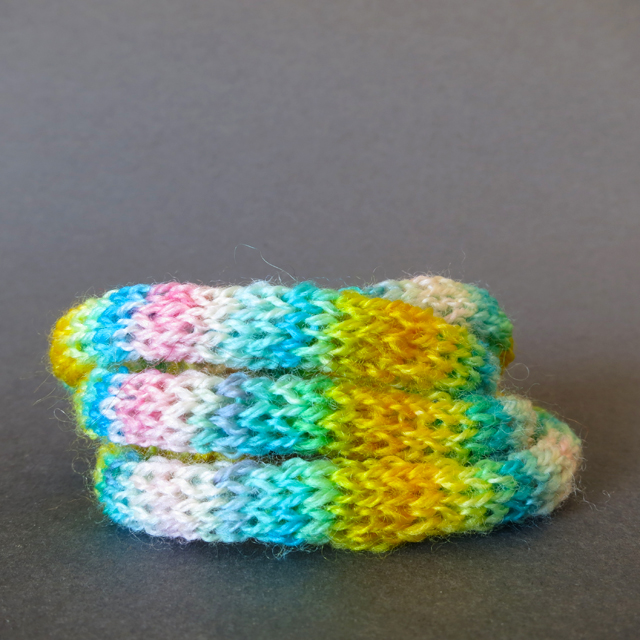
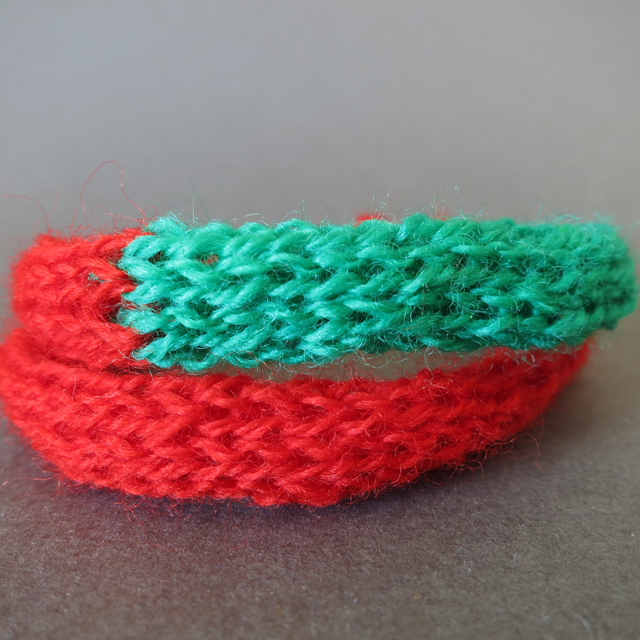
Things have been warming up down here in the Southern Hemisphere so I haven’t really felt like knitting scarves. Instead I have made some cheerful knitted bracelets using the Merino Wool Lace weight mini skeins.
They don’t take long and you get about 65cm of length (length of spring mix in first photo above) with one skein using the pattern below.
Using 3mm knitting needles cast on 2 stitches.
Row 1 – Knit into the front and the back of the two stitches (4)
Row 2 – Purl
Row 3 – Knit into the front and the back of the four stitches (8)
Row 4 – Purl
Row 5 – Knit
Repeat rows 4 and 5 until you reach the required length – ending with a purl row.
Second last row – Knit 2 together four times (4)
Last row – Purl two together two times and then pass the second stitch over the first stitch and tie off.
Enjoy!
Pre-xmas yarn sale – 4 days only
Don’t miss out on 40% off the entire Marta’s Yarns Collection for the next 4 days.
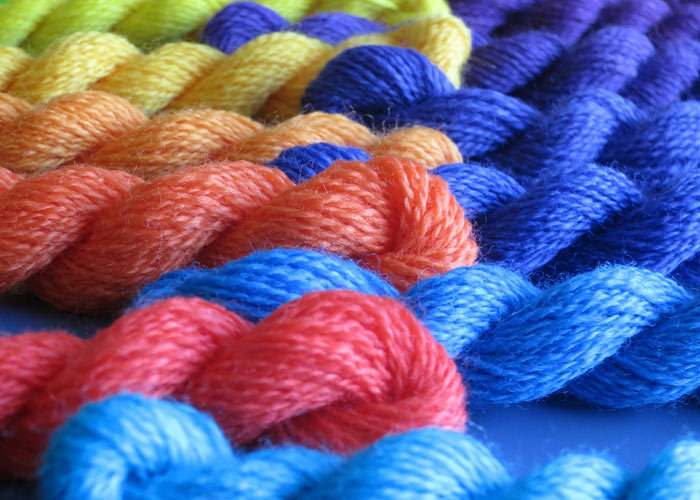
Sale includes the glorious new Marta’s Yarns lace merino mini hanks. Perfect for intarsia, fair isle, graduated work, needlepoint and embroidery.
Simply enter this coupon code before checking out XMAS2014.
NB: We refund you the difference between the flat shipping rate and the actual shipping costs based on weight prior to finalising your order.
Sale ends midnight Thursday 13th November.
Learn to knit Latin American style
I have just finished production of a new video that demonstrates the method of knitting my Chilean born mother taught me – known as the continental combined method. I taught classes in this method when we had our Melbourne yarn shop open.
There has been an ongoing debate about whether the continental or english method is the fastest way to knit. I recall one customer coming into the shop a few years back determined to demonstrate that the English method was faster than continental. There was no denying that she was a fast knitter. However, when it comes to rib and seed stitch, I think continental wins hands down.
Apart from speed, there are also ergonomic considerations when it comes to which method to use. Some people have found that using both methods eases the strain on your hands as they use different muscle groups.
Give Latin American style knitting a go and let me know your verdict.
Jumbo sized i-cord
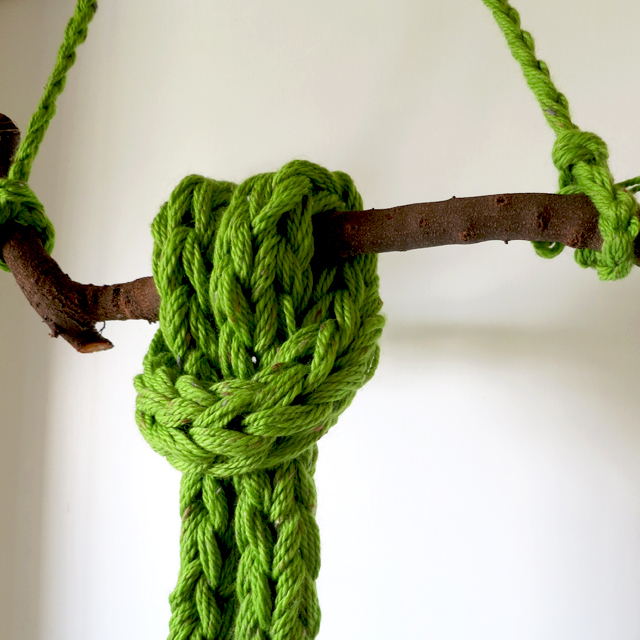
I had some fun over the weekend making this super-sized i-cord using a new technique I came up with last week. It involves a mix of finger knitting and finger crochet.
It can be used with up to about 6 stitches, depending on the yarn used. It is also a fun way to teach children how to knit. Here is the video demonstrating the technique.
The green rope used 8 strands of the Marta’s Yarns Retro (Bulky weight) wool blend yarn and I used the Marta’s Yarns hand-painted Slubby in the video demonstration.
Enjoy.
Pat
The mini rainbow merino collection
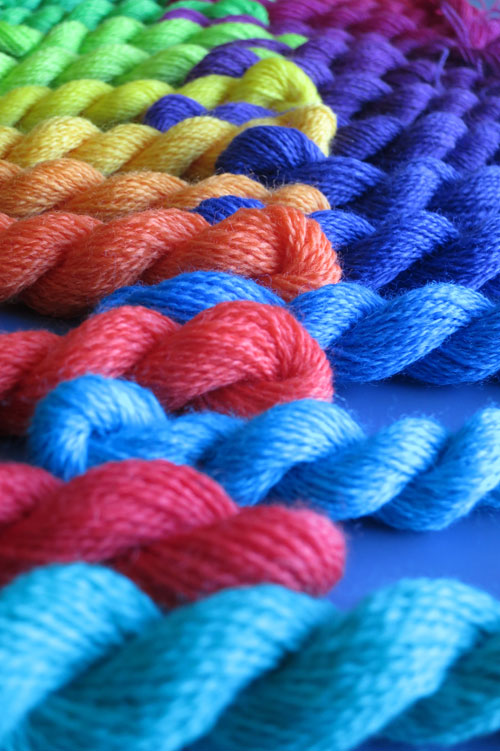
The Marta’s Yarns rainbow collection has inspired so many projects over the years. Gradient work, fairisle and intarsia projects have all used this lovely palette.
I have just added our new mini skeins of the Marta’s Yarns rainbow in a lace weight merino yarn (2ply). It is super soft and super durable and perfect for needlepoint and embroidery as well as knitting and crochet projects.
There is also the complete rainbow collection of 24 skeins, which includes 2 FREE skeins. Please note that we will refund the difference between out flat rate postage and the actual postage costs for your order.

